Searching for apps and managing folders and files

In this session, you’ll learn how to search for applications, files and folders and then use File Explorer to manage files and folders.

Get started

Skip to next session

Session at a glance

  • Search for files and folders
  • Search for and launch applications
  • Use File Explorer to create a folder
  • Use File Explorer to copy, move and delete files

Get started

Skip to next session

Searching from the Desktop

Click into the Search text box and type the name of the file, folder or application that you want to find.

The search results are shown in the window that appears above the text box.

If the item you are looking for is located, click it and it will be opened.

Launching File Explorer

To launch File Explorer, click the File Explorer shortcut on the taskbar.

Mouse pointing to File Explorer shortcut on the taskbar

If you can’t locate the shortcut, click the Search magnifying glass and type File Explorer into the Search text box and select it from the search results.

In Citrix, click the magnifying glass to open Search

Pin the ribbon open

Running across the top of File Explorer is the Ribbon. The Ribbon provides access to many of the commonly used tools. The Ribbon is divided into a number of tabs, with each tab containing a collection of tools relevant to the tab name.

By default, the first time you use File Explorer the ribbon will be collapsed. To pin it open, click the Pin icon to the far right of the ribbon.

Pin displayed when selecting a tab from the collapsed ribbon

While pinning the Ribbon open may take up a little more room on the screen, it makes using the tools much easier.

Switch between tabs on the ribbon

Each of the tabs reveals a set of tools relating to the title of the tab. Click the tab to reveal the tools. The tools are clustered together into groups of similar tools to try to make it quicker and easier to find the tool you need.

Share tab selected from the File Explorer Ribbon

Navigate your folder structure

The Navigation pane appears to the left of the File Explorer window. You can scroll up and down the pane to reveal the folders, libraries and network drives to which you have access.

Clicking the Quick access link in the Navigation pane reveals all the files and folders that you’ve recently used, saving you time and effort locating those files and folders.

When you select a drive or folder in the Navigation pane its contents will be displayed in the Contents pane to the right.

File Explorer highlighting the Navigation pane to the left of the window

To learn more about the best way to access and manage your folders and files visit the Evolve365 Hub.

Using the Address bar

Immediately below the Ribbon is the Address bar. The Address bar shows the location of the files and folders that are currently being displayed within the Content pane.

You can click anywhere within the hierarchy that’s described within the Address bar and the Content pane will update to show the contents at that level.

You can move a folder or file to a folder listed within the Address bar. Drag it from the Contents pane up to the folder within the Address bar.

Address bar highlighted beneath the Ribbon

Turn on the Preview pane

The Preview pane lets you look at the contents of a file. To switch it on, open the View tab and select the Preview pane option. The pane will appear to the right of the File Explorer window. When you select a file a preview of it will be displayed within the Preview pane.

Preview pane revealing preview of selected file

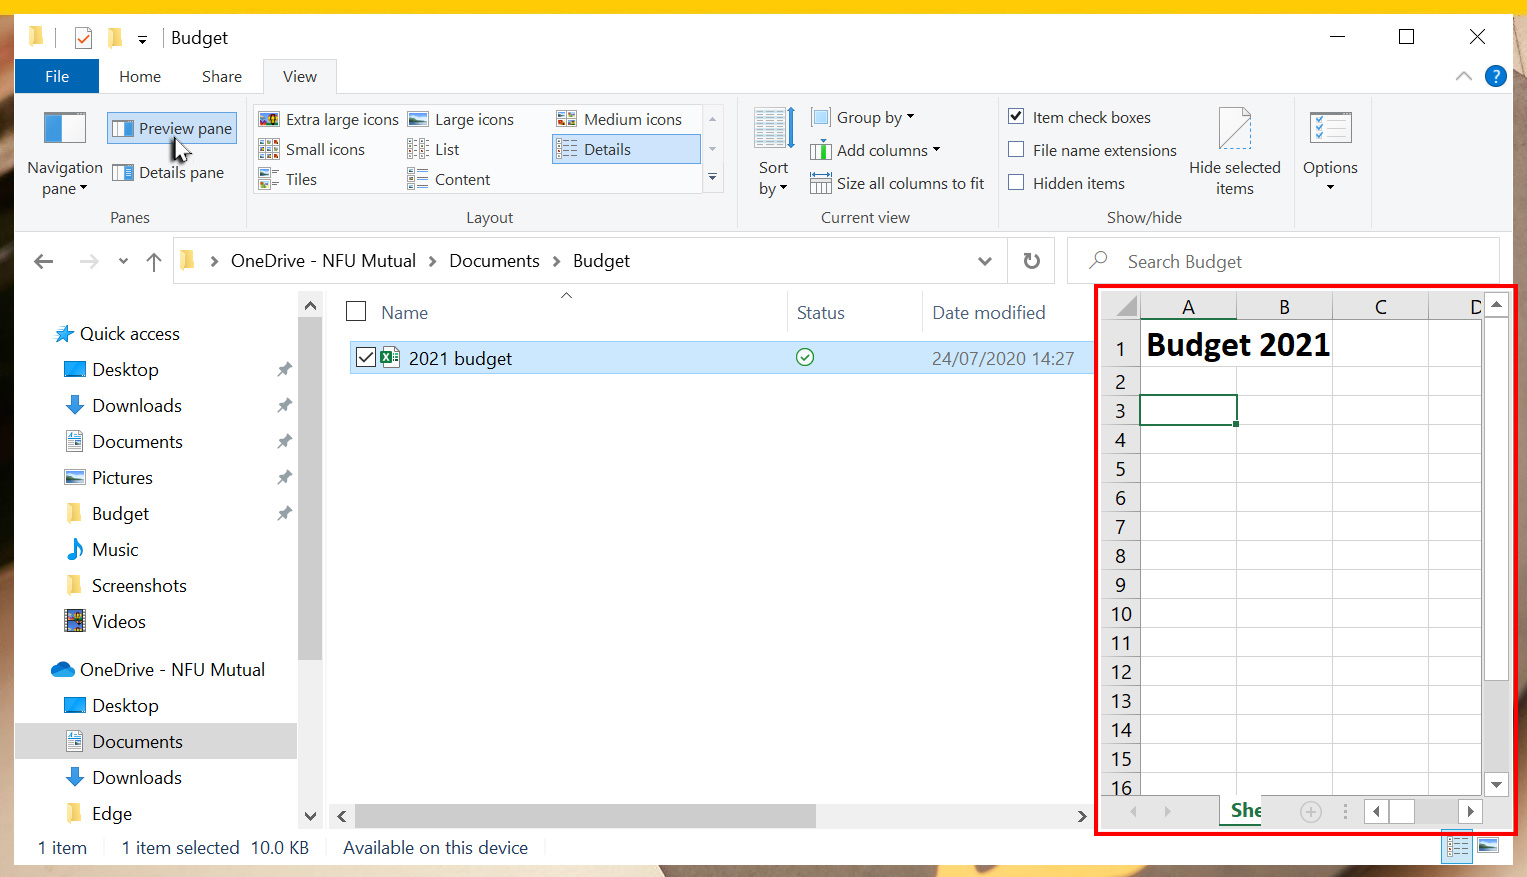
Search with File Explorer

To the right of the Address bar is the Search box.

When you use the Search box, you’ll be searching the folder you’ve got open and all its sub-folders.

Searching with File Explorer reveals the Search Tools tab on the Ribbon

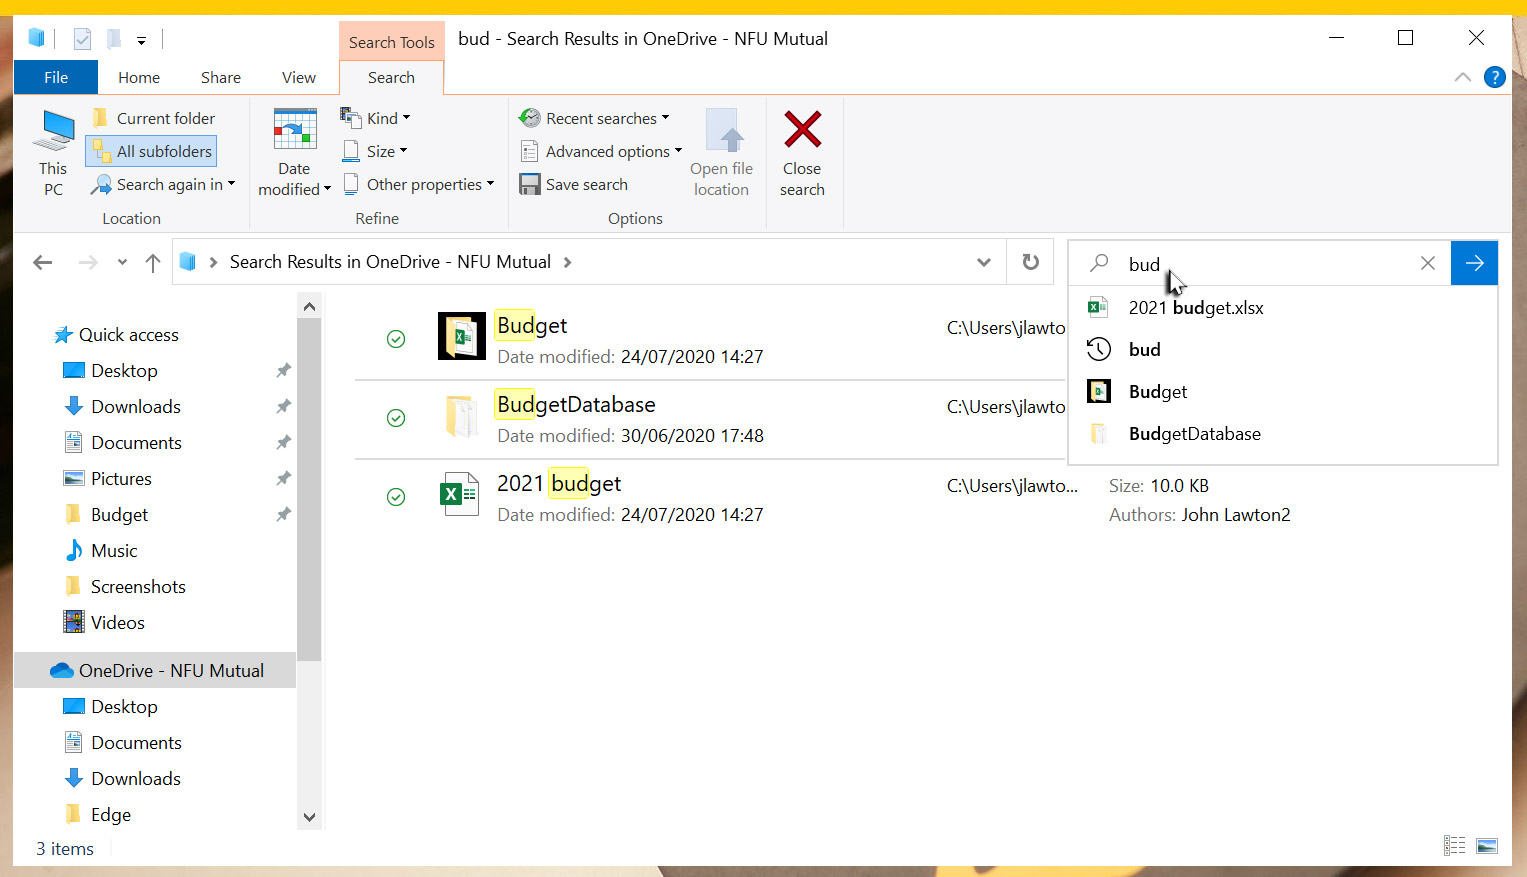
You can search for a full or partial file or folder name. All you need do is type the name into the search box and the results will be displayed within the Content pane.

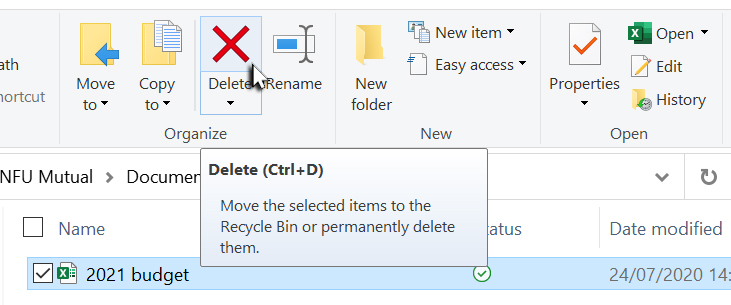
If you want to open the folder within which that file or folder exists, right-click the file or folder and select either Open file location or Open folder location.

You can open a file or folder by double-clicking it within the search results.

You can refine your search results by using the Search Tools that appear on the Ribbon when you start a search.

Create a folder

It’s a good idea to create a folder structure within OneDrive which maps the way you work. Maybe by project, or task or job – whatever works for you. To create a folder within the current folder, open the Home tab and click New folder.

New folder tool selected to create a new folder within the current folder

Give the folder a name and press Enter.

Delete a file or folder

To delete a file or folder, select it and from the Home tab click Delete.

If the file or folder that you are looking to delete is stored locally on your Windows 10 computer, it will be deleted immediately, without warning. If you’ve made a mistake, hold down the Ctrl key and tap Z to undo the deletion.

Deleting the selected file or folder with the Delete tool from the Home tab

Copy a file or folder

To copy a file or folder, first select it, then either click Copy or hold down the Ctrl key and tap C. If the copy is to be placed in a different folder, navigate to it. To paste the copy of the file or folder, either click Paste or hold down the Ctrl key and tape V.

Alternatively, select the file or folder to be copied and click Copy to. Now either select the folder into which the copy should be made or click Choose location… and navigate to the folder and click Copy.

Move a file or folder

To move a file or folder, first select it, then either click Cut or hold down the Ctrl key and tap X. If the file/folder is to be placed in a different folder, navigate to it. To paste the file/folder, either click Paste or hold down the Ctrl key and tape V.

Alternatively, select the file or folder to be moved and click Move to. Now either select the folder into which the file/folder should be moved or click Choose location… and navigate to the folder and click Move.

Another method is to simply drag and drop the file or folder into its new destination folder, assuming it’s visible within File Explorer.

Rename a file or folder

To change the name of a file or folder, first select it, then click Rename.

Type the new name and press Enter. As long as the name is unique, within the folder, and contains no restricted characters (< > : ” / \ | ? *) , the new name will be used.

Test your learning

Feel like you have understood this session? Great, take a moment to complete this these steps:

  • Launch File Explorer.
  • Create a folder within your OneDrive Documents folder called Project Alpha.
  • Launch Excel and type Budget into cell A1.
  • Save the worksheet to your new Project Alpha folder with the name Budget Template.
  • Close Excel and using File Explorer, check that the file has been saved in the correct location.
  • Now create a new folder, within the Project Alpha folder, called Budgets.
  • Move the Budget Template worksheet into the Budgets folder.
  • Open the Budgets folder and copy the Budget Template, giving it the name Budget Q4.
  • Use the Windows search tool to locate and open the file Budget Q4.
  • Excel should open, with the copy of the file you made earlier.
  • Close Excel and switch to File Explorer.
  • To clean up what you’ve just created, delete the Project Alpha folder.
  • Close File Explorer.

Get started

Skip to next session

Page 10 / 23