Printing and scanning within regional or head offices

In this session, you’ll learn how to print from your Windows 10 device and collect your printed material. You’ll also learn how to scan a document and send the scan to your mailbox for later use.

Get started

Skip to next session

Session at a glance

  • Printing from Windows 10 applications
  • Collecting your printout
  • Scanning documents
  • Guest printing

Get started

Skip to next session

Printing from Windows 10 applications

To enable printing from your new device you will need to be wired into the NFUM network, wireless printing is not currently available.

First you print your document, presentation or spreadsheet to a secure print queue, and then you visit a printer, sign-in and tell the printer and either select the document you want to print or print everything in your print queue.

To print to a secure queue, all you need to do is select the File tab in your Office application and select Print. From the drop down list of printers choose the Follow-me printer and click Print

Signing-in to the printer

To collect your printout, you’ll need to sign-in to the printer. The simplest way to do this is with your ID card. Simply tap your card on the printer’s card reader.

Sign-in to the printer

If this is the first time you’ve done this, you’ll need to register your card on one of the big A3 printers. Scan your ID card on the printers card reader.

You’ll then be asked to type your NFUM username and password into the printer’s console using the console’s on-screen keyboard.

Tap into each text box and type your username and password. Type slowly and carefully, making sure each tap on the console is correctly registered by the printer.

When you have typed your username and password, tap Log in.

Now tap your card again on the card reader and it will sign you in.

Once you card has been registered with one printer, you’ll be able to use it with any printer in our head office or any of our regional offices.

Collecting your printout

Having signed-in to a printer, you will be presented with a number of choices depending on the type of printer you are using.

If you are using one of the smaller A4 printers, everything you have in the print queue will be printed. You may need to wait a few seconds for your documents to appear.

If you are using one of the larger A3 printers, tap Print Release and you’ll be shown a list of the documents, presentations and spreadsheets that you’ve sent to the printer.

There’s an empty tick box to the left of each thing to be printed. Tap into those tick boxes to select them.

Printer menu with the option to select Print Release

The larger A3 printers can print in black and white or colour. You can choose the option you want in Printer Properties.

The smaller A4 printers will only print in Black and White.

Further options such as printing on headed paper and selecting a specific print tray are also accessible from Printer Properties.

Visit our Printer Guidance page on the Evolve365 Hub for further instructions

When you are ready to print the ticked items, tap Print.

The queue will now be emptied of the ticked items and each will be printed.

Tip

When presented with the queue of print jobs, you can choose to delete any that you no longer need. Simply tick those print jobs that you want to delete and then tap the Waste bin. Confirm that they should be removed, and they will be gone.


Tip

Some printers may have Fax fitted, in which case an additional icon will be on screen. The icon looks like this:

Printer menu will include Fax if this option has been installed on the printer

Scanning documents

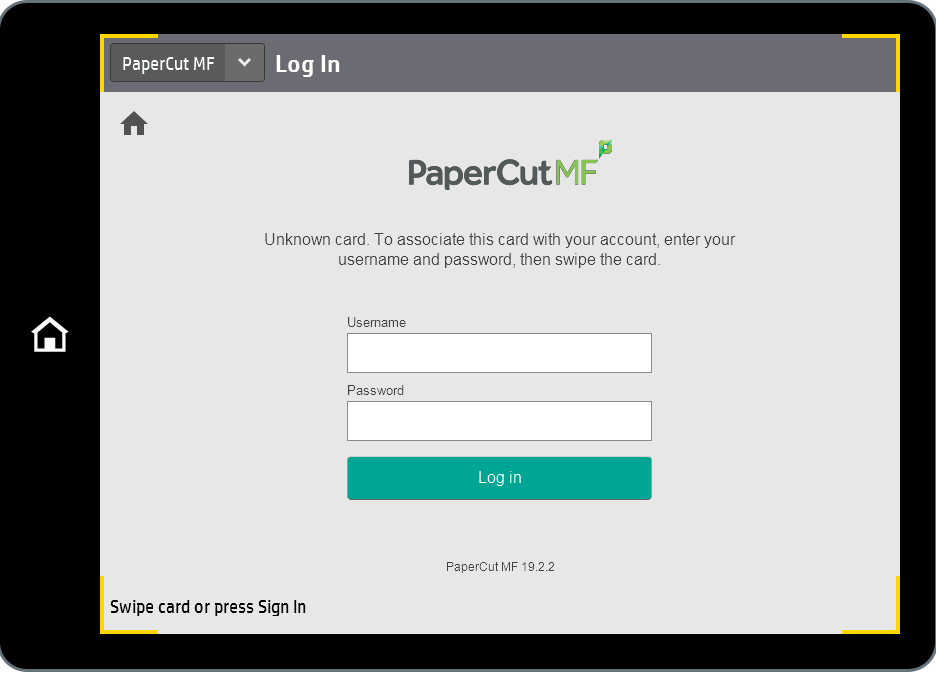
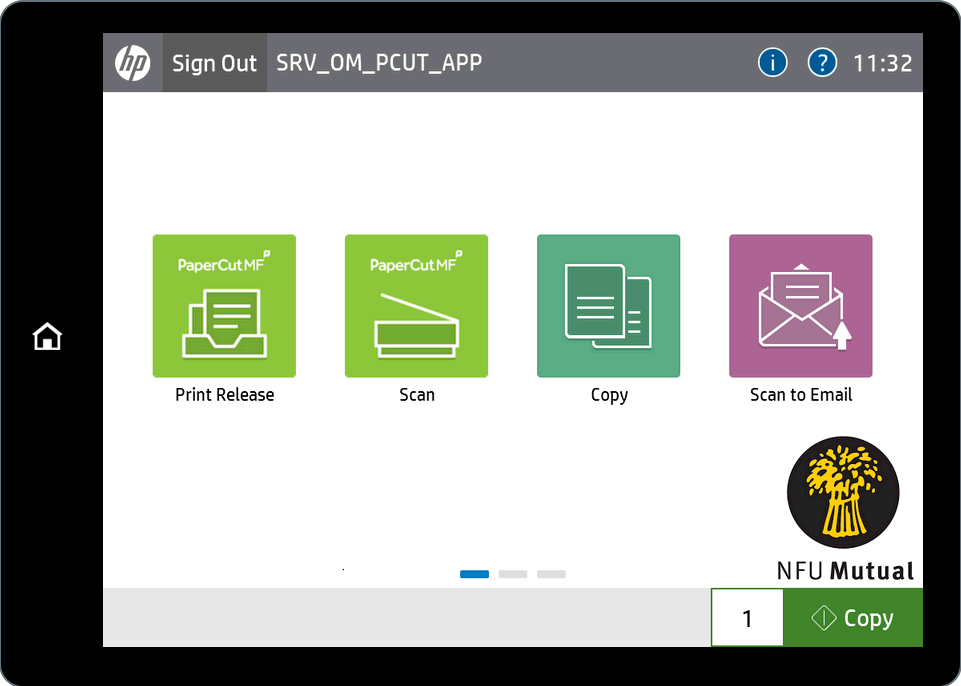
To scan a document or anything else, make sure you have signed-in to the printer and tap the Scan option.

Next place the items to be scanned into the document feeder, or if the item you are scanning is an odd size, place it directly onto the scanning glass.

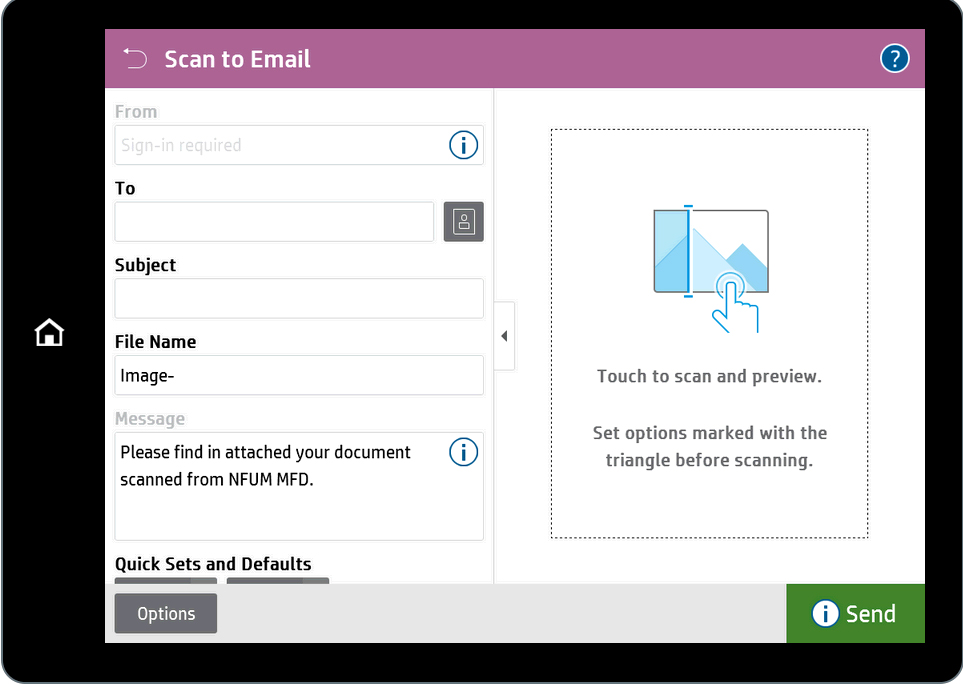
All scanned material will be sent to your email address as an email attachment. You cannot change the email address to which your scan is sent.

You can give the email subject a name and give the scan a filename of your choosing. Simply tap into the text boxes on the printer’s console and type slowly using the on-screen keyboard.

If you want to see a preview of the scan, tap the space to the right of the console. When you are ready to start the scanner, tap Send.

And that’s it, your material will be scanned, and the resultant file will be emailed to your mailbox. Simply retrieve the document you scanned and return to your device to view the scan.

Scan to email screen on printer

Using the new printers, you can now also scan directly to your OneDrive, simply by clicking the button 'Scan.’

When you select this button, you will receive an email with confirmation of your scan being available to send to OneDrive.

The first time you do this, you will receive a 24-hour authorisation link for Scans for PaperCut MF to send files to your OneDrive.

If the Microsoft authorisation seems to be taking some time, press 'cancel' and enter your password and it will then allow you to authorise the link.

Once authorised, you can find your scanned documents located in C:\Users\[USER ID]\OneDrive - NFU Mutual\Apps\Scans for PaperCut MF.

Sign out from the printer

When you have finished using the printer, sign-out from it.

If you are not at the home screen for the printer, press the Home button on the left edge of the printer’s console.

Now tap Sign Out.

Guest printing

If you are hosting a guest, you can help them to print any Office document or PDF. Simply advise them to email the file as an attachment to guest@nfumutual.co.uk.

The file will then be added to the printer queue.

Your guest will receive an email reply providing them with a six-digit code that they can use to unlock their job from the print queue.

Your guest will need to visit one of our printers and on the printer display, tap Sign in.

At the Sign In screen, your guest will need to tap the ID number option and enter their six-digit code.

Your guest will then be able to access their job and release it to the printer for printing.

Test your learning

Feel like you have understood this session? Great, take a moment to complete this these steps:

  • Open Word and type a short passage of text.
  • Print the document.
  • Lock your device and visit your nearest printer.
  • Present your ID and, if necessary, provide your NFU Mutual sign-in credentials.
  • Once signed in, print all the items in your print queue.
  • To practice scanning, scan the document that you’ve just printed and email it to your mailbox.
  • Sign out from the printer and return to your device.
  • Check your mailbox and take a look at the scan – how well does it compare with the original?

Get started

Skip to next session

Page 13 / 23